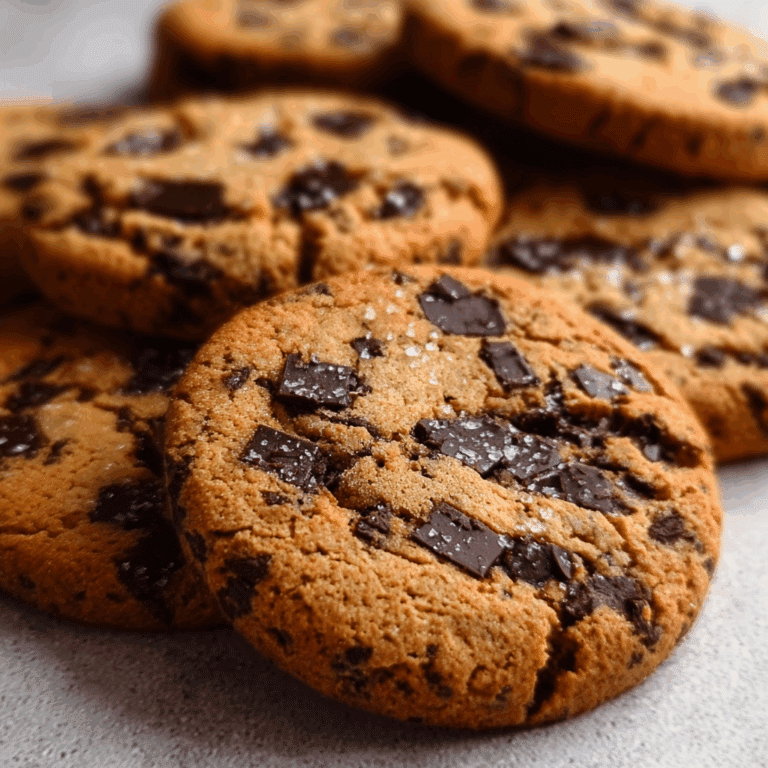
Milk Bar Crack Pie

If you’ve never experienced the magic of Milk Bar Crack Pie, you’re in for an extraordinary treat. This dessert is famous for its addictive combination of gooey, buttery filling with a perfect crunchy, toasted oat crust. The balance of sweet and salty flavors creates a texture and taste sensation that dessert lovers can’t stop raving about. Whether you’re a seasoned baker or just looking for a new signature dish to impress guests, the Milk Bar Crack Pie will become a beloved staple in your dessert repertoire.
Why You’ll Love This Recipe
- Irresistibly Gooey: The filling melts in your mouth, blending buttery caramel notes with a slight salty edge.
- Crisp Texture: The toasted oat crust adds a crunchy contrast that perfectly complements the creamy interior.
- Simple Ingredients: Despite tasting decadent, the recipe uses straightforward pantry staples everyone has.
- Comforting and Nostalgic: It combines flavors reminiscent of classic pies with a modern twist for ultimate comfort food vibes.
- Versatile Serving Options: Great as a casual dessert or an impressive centerpiece for special gatherings.
Ingredients You’ll Need
Milk Bar Crack Pie may sound luxe, but the beauty lies in how simple, well-chosen ingredients come together to create layers of flavor and texture. Each component plays an essential role—from the rich butter that delivers creaminess to the oats that provide a rustic crunch.
- Butter: Use unsalted butter for a clean, creamy richness that binds everything together.
- Rolled Oats: Toasted oats build the crust with a hearty, nutty bite.
- Brown Sugar: Adds deep molasses notes that enhance the pie’s sweetness.
- Heavy Cream: Creates the luscious, gooey filling everyone loves.
- Egg Yolks: Help achieve a smooth, custardy texture.
- Salt: Just a pinch balances the sweetness and highlights flavors.
- Flour: Adds structure to the crust while keeping it tender.
- Vanilla Extract: Infuses warm, aromatic notes that elevate the pie.
Variations for Milk Bar Crack Pie
One of the best things about the Milk Bar Crack Pie is how easy it is to adapt for different tastes or dietary needs. Whether you want to add a new flavor twist or make it a bit healthier, these variations will inspire you to get creative.
- Chocolate Swirl: Add melted dark chocolate to the filling for a rich, decadent upgrade.
- Gluten-Free Crust: Replace regular flour with almond or oat flour to keep it gluten-free without sacrificing texture.
- Salted Caramel Drizzle: Top the finished pie with homemade salted caramel sauce for extra indulgence.
- Nutty Addition: Mix finely chopped pecans or walnuts into the crust for added crunch and flavor complexity.
- Vegan Adaptation: Use coconut oil instead of butter and a flaxseed egg substitute for a plant-based version.

How to Make Milk Bar Crack Pie
Step 1: Prepare the Crust
Start by toasting the rolled oats in a dry skillet until golden and fragrant; this gives the crust its signature nutty flavor. Then, combine the toasted oats with flour, brown sugar, melted butter, and a pinch of salt. Press this mixture firmly into a pie pan to create an even base that bakes into a crisp, sturdy shell.
Step 2: Make the Filling
In a saucepan over medium heat, melt butter and whisk in brown sugar, heavy cream, egg yolks, and vanilla extract. Keep stirring gently until the mixture thickens into a luscious, gooey consistency. Remove from heat, making sure the custard-like filling is perfectly smooth and rich.
Step 3: Assemble and Bake
Pour the silky filling over the prepared oat crust and spread evenly. Bake the pie in a preheated oven until the edges look set and slightly caramelized, typically around 40 minutes. The center remains luscious but will firm up as it cools, creating that classic crack pie texture.
Step 4: Cool and Chill
Allow the pie to cool to room temperature, then refrigerate for at least a few hours or overnight. This resting time lets the flavors meld beautifully and the pie set firmly, making it easier to slice and serve.
Pro Tips for Making Milk Bar Crack Pie
- Use High-Quality Butter: It truly impacts the richness and mouthfeel of the filling.
- Don’t Skip Toasting the Oats: It unlocks deeper flavors and improves texture considerably.
- Whisk Constantly While Cooking Filling: This prevents curdling and ensures smooth custard.
- Let the Pie Rest Thoroughly: Chilling overnight enhances firmness and intensifies taste.
- Room Temperature Ingredients: Using eggs and cream at room temperature helps create a smoother batter.
How to Serve Milk Bar Crack Pie
Garnishes
Keep garnishes simple to complement the pie’s rich flavor. A light dusting of powdered sugar, a sprinkle of flaky sea salt, or a small dollop of freshly whipped cream work wonderfully.
Side Dishes
For an added treat, serve slices alongside fresh berries or a scoop of vanilla bean ice cream to contrast the pie’s dense texture with something fresh and cool.
Creative Ways to Present
Consider serving mini versions in ramekins for individual portions or arrange bite-sized crack pie squares on a dessert platter for easy sharing at parties. You can also drizzle warm caramel or chocolate sauce artistically over each slice for an elegant touch.
Make Ahead and Storage
Storing Leftovers
Milk Bar Crack Pie keeps well when covered tightly in the fridge for up to 5 days. The flavors actually deepen as it sits, making leftovers just as delicious as the first serving.
Freezing
If you want to extend its shelf life, wrap the pie securely in plastic wrap and aluminum foil, then freeze for up to 2 months. Thaw in the fridge overnight for best results.
Reheating
Warm slices slightly in a low oven or microwave for 10-15 seconds to revive the soft, gooey texture without melting the crust completely.
FAQs
What is Milk Bar Crack Pie?
Milk Bar Crack Pie is a popular dessert known for its rich, gooey filling and crispy oat crust, offering a perfect balance of sweet and salty flavors.
Can I make this pie gluten-free?
Yes, substituting regular flour with gluten-free options like almond or oat flour can make the crust gluten-free without compromising texture.
How long does Milk Bar Crack Pie last in the fridge?
When stored properly, the pie stays fresh and delicious for up to 5 days in the refrigerator.
Is it possible to make Milk Bar Crack Pie dairy-free?
Absolutely! Use coconut oil or vegan butter instead of dairy butter, and substitute heavy cream with coconut cream for a dairy-free version.
What’s the best way to serve Milk Bar Crack Pie?
Serve chilled or slightly warmed with fresh berries or a scoop of vanilla ice cream to complement its rich texture and flavor.
Final Thoughts
There’s no doubt that Milk Bar Crack Pie is more than just a dessert; it’s an experience you’ll want to savor again and again. Its unique combination of textures and flavors will captivate your taste buds and make every occasion sweeter. So go ahead, bake a pie, share it with friends, and enjoy this irresistible classic that truly lives up to its hype.
Related Posts
PrintMilk Bar Crack Pie

Milk Bar Crack Pie is a decadent dessert featuring a luscious, gooey buttery filling with a perfectly crunchy toasted oat crust. This pie combines sweet and salty flavors with a nostalgic yet modern twist, making it a beloved treat for all dessert lovers. Simple pantry ingredients come together to create an irresistible balance of textures and rich flavors, perfect for both casual and special occasions.
- Prep Time: 20 minutes
- Cook Time: 40 minutes
- Total Time: 5 hours (including chilling time)
- Yield: 8 servings 1x
- Category: Dessert
- Method: Baking
- Cuisine: American
- Diet: Gluten Free (with flour substitution option)
Ingredients
Crust
- 1 1/4 cups rolled oats, toasted
- 3/4 cup all-purpose flour (or almond/oat flour for gluten-free)
- 1/2 cup brown sugar
- 1/2 cup unsalted butter, melted
- Pinch of salt
Filling
- 1/2 cup unsalted butter
- 1 1/4 cups brown sugar
- 3/4 cup heavy cream (or coconut cream for dairy-free)
- 3 large egg yolks
- 1 tablespoon vanilla extract
- Pinch of salt
Instructions
- Prepare the Crust: Toast the rolled oats in a dry skillet over medium heat until golden and fragrant to enhance the nutty flavor. In a bowl, combine the toasted oats with flour, brown sugar, melted butter, and a pinch of salt. Press this mixture firmly and evenly into a pie pan to form a sturdy, crisp crust base.
- Make the Filling: In a saucepan over medium heat, melt the butter. Whisk in brown sugar, heavy cream, egg yolks, vanilla extract, and a pinch of salt. Stir constantly until the mixture thickens to a luscious, gooey consistency with a smooth custard-like texture. Remove from heat.
- Assemble and Bake: Pour the filling evenly over the prepared oat crust. Bake the pie in a preheated oven at 350°F (175°C) for about 40 minutes, or until the edges are set and caramelized while the center remains soft and gooey. The filling will firm up as it cools.
- Cool and Chill: Let the pie cool to room temperature, then refrigerate for at least a few hours or preferably overnight. This allows the flavors to meld and the pie to set firmly, making slicing easier.
Notes
- Use high-quality unsalted butter to enhance richness and texture.
- Do not skip toasting the oats to unlock deeper, nutty flavors.
- Whisk constantly while cooking the filling to prevent curdling and ensure smooth custard.
- Chill the pie overnight for best firmness and intensified flavors.
- Use room temperature eggs and cream to create a smoother filling mixture.
Nutrition
- Serving Size: 1 slice (1/8 of pie)
- Calories: 450
- Sugar: 36g
- Sodium: 150mg
- Fat: 28g
- Saturated Fat: 17g
- Unsaturated Fat: 9g
- Trans Fat: 0g
- Carbohydrates: 45g
- Fiber: 3g
- Protein: 4g
- Cholesterol: 115mg
Keywords: Milk Bar Crack Pie, gooey pie, toasted oat crust, buttery filling, dessert, caramel pie, easy pie recipe, gluten-free pie option